

Hey brick fans!
If you’ve ever dreamed of a Victorian flying contraption or imagined being part of a secret society of airship adventurers, the Lumibricks/Funwhole Steampunk Flying Club might be the set to bring that fantasy to life.
Here's a fun fact, did you know that Lego has never produced a Steampunk themed set? How is that possible given all the fans of steampunk and building blocks? And did you know that Lumibricks/FunWhole has produced nine different Steampunk themed sets since 2022?
Here's a complete list of all the Steampunk sets that Lumibricks/Funwhole has produced to date:
🏙️ Large & Detailed Sets
-
Steampunk City Bridge
-
Pieces: 3,170
-
Price: $199.99–$219.99 USD
-
-
Steampunk Watch Tower
-
Pieces: 2,744
-
Price: $179.99 USD
-
-
Steampunk Trading Center
-
Pieces: 2,680
-
Price: $129.99 USD
-
-
Steampunk Flying Club
-
Pieces: 1,858
-
Price: $99.99 USD
-
-
-
Steampunk Train Station
-
Pieces: 1,843
-
Price: $119.99 USD
-
-
🚂 Medium-Sized Sets
-
Steampunk Airship: Light Catcher
-
Pieces: 1,641
-
Price: $89.99 USD
-
-
-
Steampunk Ore Train
-
Pieces: 1,056
-
Price: $69.99 USD
-
-
🛠️ Compact & Collectible Sets
-
Steampunk Motorcycle Pursuit
-
Pieces: 424
-
Price: $29.99 USD
-
-
-
Steampunk Hot Rod
-
Pieces: 282
-
Price: $23.99 USD
-
-
If you're a Steampunk fan, you'll need to collect all these cool Lumibricks sets!

🧱 Set Overview
-
Set Name and Number: Steampunk Flying Club F9050
-
Piece Count: 1,858
-
Recommended Age: 16+
-
Minifigures: 5
-
Printed parts: Lots
-
Stickers: None!
-
Lighting Kit: Included (requires batteries, not included)
Lego Compatible: Yes
-
Retail pricing: Approx $99.99 USD, but don't forget to check the Lumibricks website for periodic sales
🏛️ Design and Aesthetic
The entire structure is dripping with steampunk flair — think gold and silver gears, smokestacks, rotating wind vanes, and exposed machinery. The color palette leans into tans. browns, and golds,for that gritty, retro-industrial look. It’s three levels tall, with lots of details inside and out.
The whole build feels like a lovingly constructed diorama of a lost era — but unlike many static display sets, this one’s packed with interactive features.
🧩 Floor-by-Floor Breakdown
🔻 Ground Floor: The Lounge
-
Main entrance with swinging doors
-
Staircase to the second floor
-
Seating area and record player
-
A steampunk airship model in the bay window
✅ Play Features:
-
Rotating mechanical device (connected to an external crank)
Opening rear wall to view the interior
🔹 Second Floor: The Lab
-
Large workshop table covered in parts and tools
-
Staircase to the top deck and hangar bay
-
A mechanical contraption with various controls
-
A model airplane
✅ Play Features:
-
More Moveable gears and chain
-
Opening rear wall to view the interior
⬆️ Rooftop Landing Pad & Beacon
-
Landing deck and hangar for aircraft
-
Glowing red beacon tower
-
Wind-direction vane/propeller
✅ Play Features:
-
Turnable wind vane
-
👨✈️ Minifigures


The 5 included minifigures each come with unique printing. There's a gentleman with a large tophat and the ladies have long skirts. One of the test pilots has a helmet which he can wear. They even have a group portrait that hangs in the Flying club lounge. I'm guessing that they are all the founding members of the Flying club!
🛠️ Build Experience
Building this set is surprisingly intuitive despite its complexity. The instructions are clear, and the parts are well-organized into numbered bags. Expect some interesting techniques involving gear rotations, side-wall sub-assemblies, and delicate detailing. Following are the progression pics from the build as I make my way through the ten steps.


So Many Printed Parts!

💡 Lighting Effects
Funwhole (now Lumibricks) really shines when it comes to lighting integration — and this set is no exception. There are so many lighting elements, that it's hard to keep track of them all.


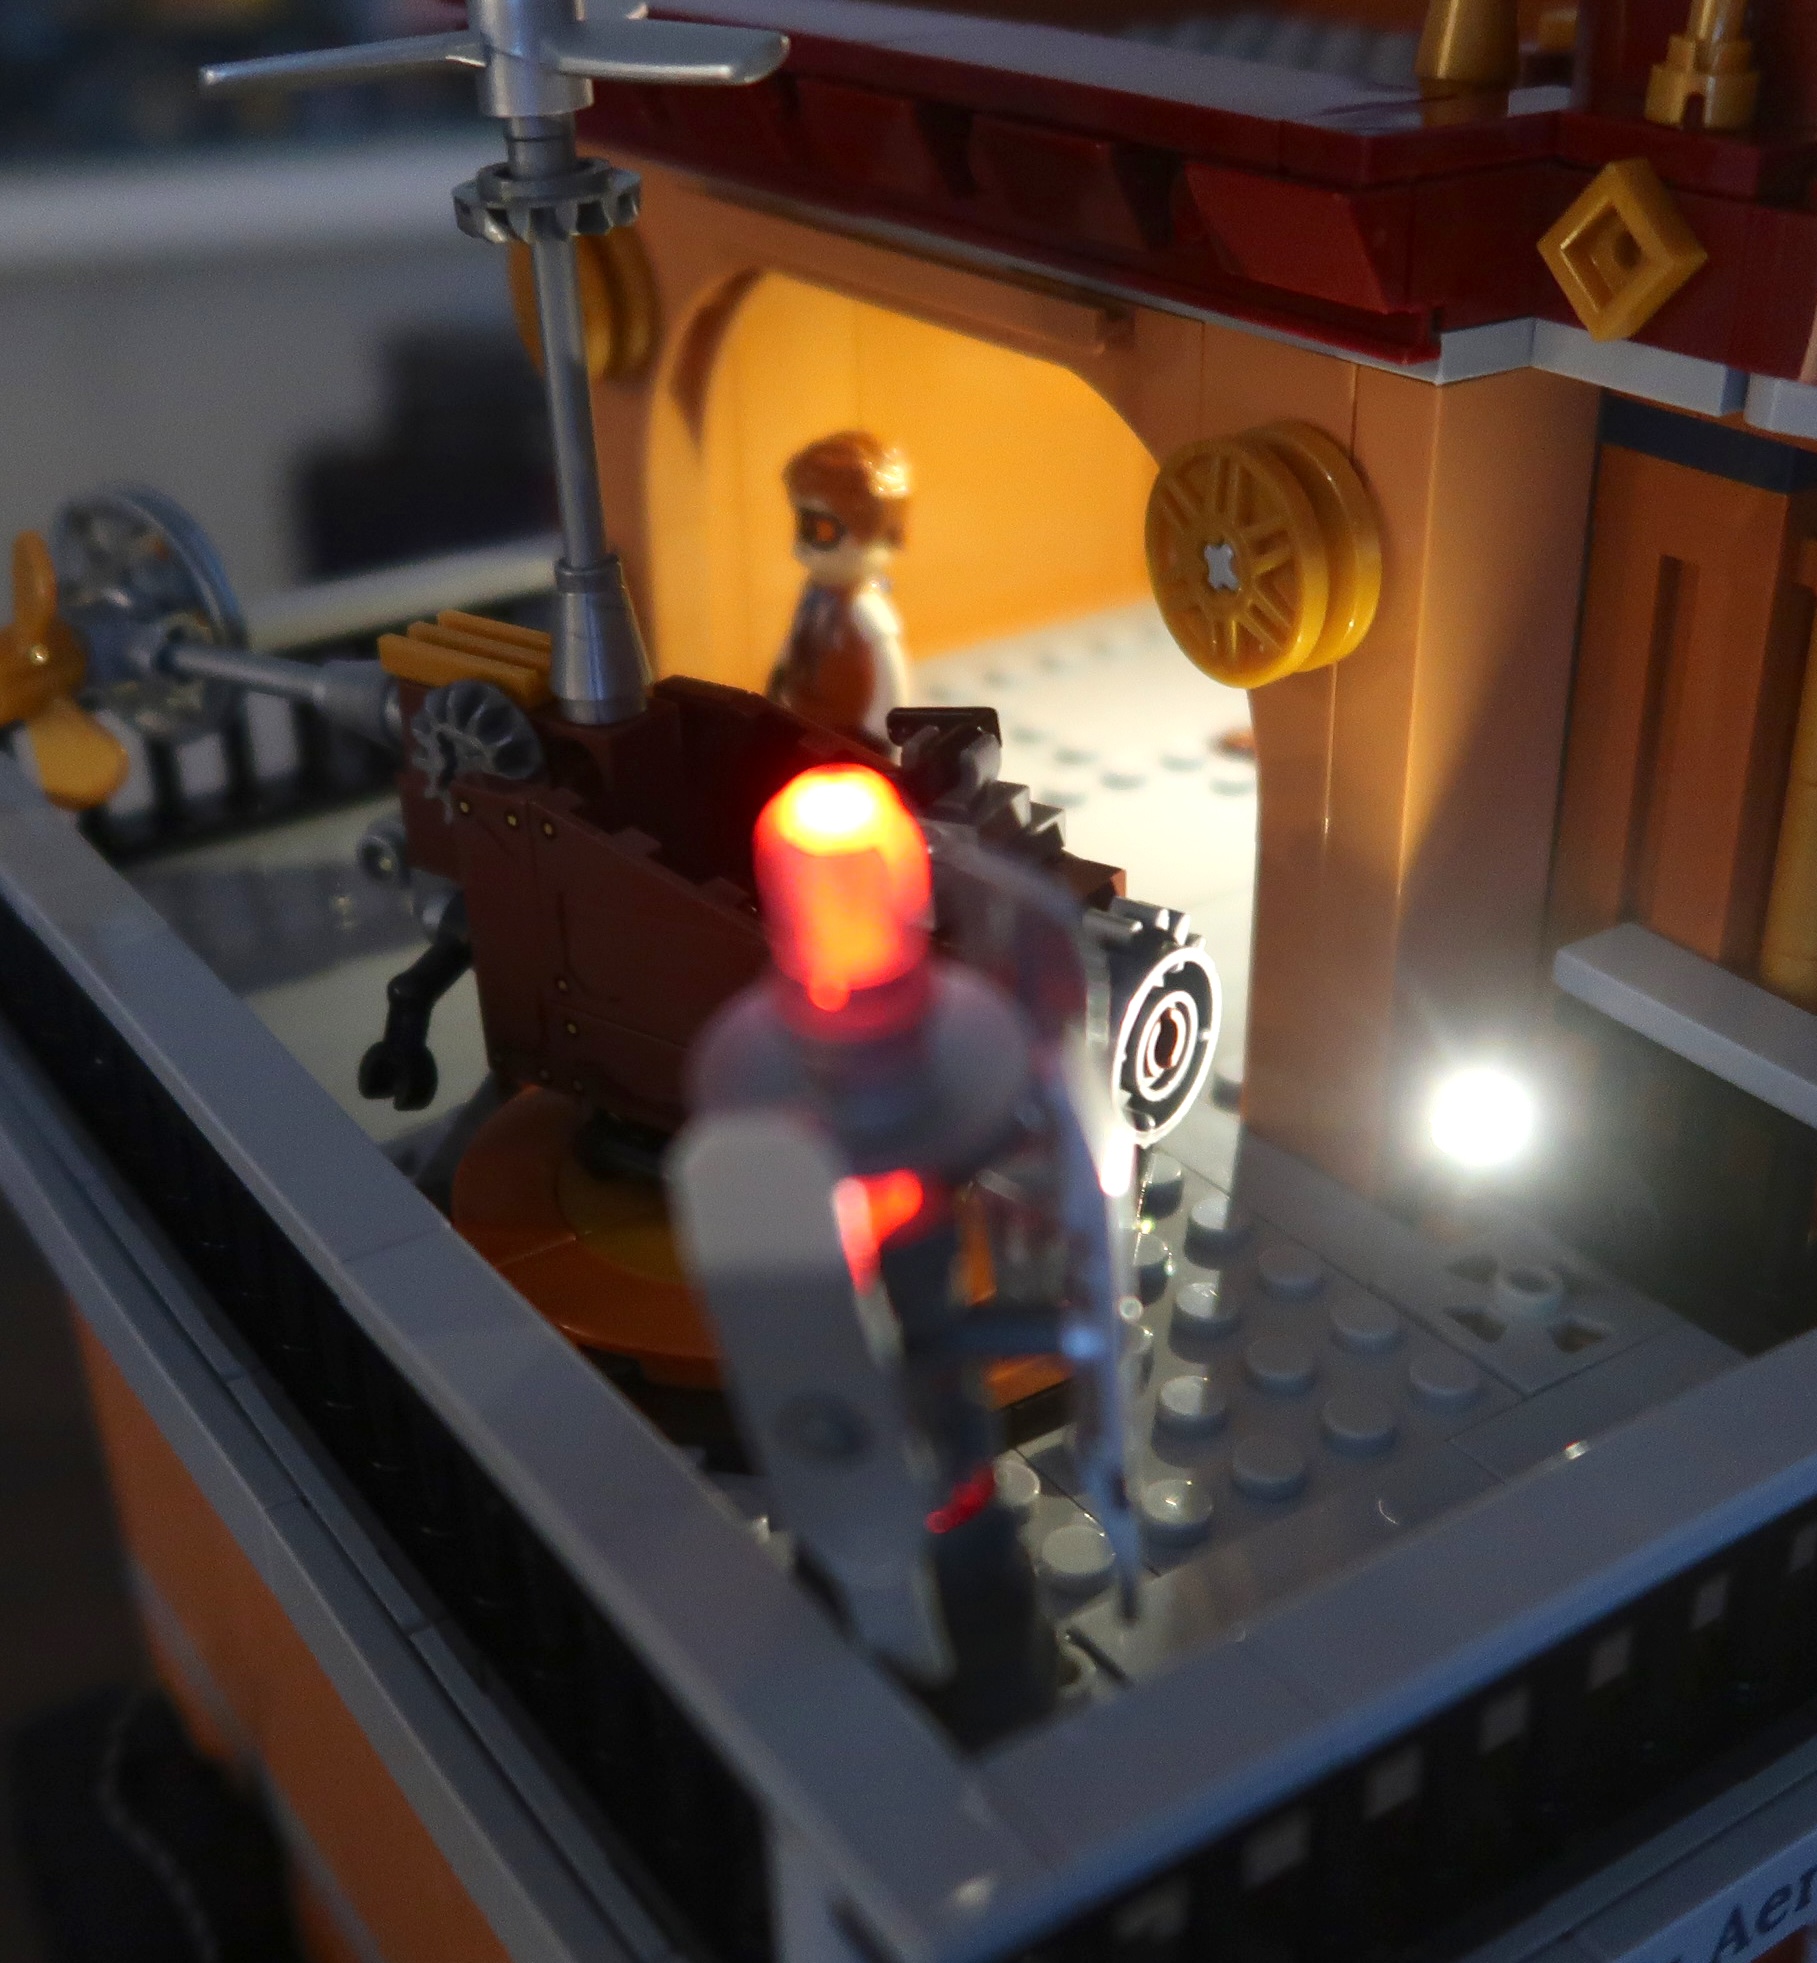


The lighting system just elevates the model from nice to wow. Take your time installing the light kit and you will be rewarded. Just make sure to test the lights as you go, before moving to the next section.
Minor Mods


✅ Pros & Cons
👍 Pros:
-
Stunning steampunk visuals with rich details and Victorian style
-
Generous lighting elements with mood-enhancing glow
-
Lots of beautiful printed pieces
Opening rear walls let you view the detailed interiors
👎 Cons:
-
Very minor clutch issue with the dome roof
-
Not really a modular building because you can't separate the floors
-
The second floor outer gearing mechanism is stiff and doesn't turn smoothly
🏁 Final Verdict
The Funwhole Steampunk Flying Club was really fun to put together, and it's a stunning set to display. To make it even better, display it with the Lumibricks Steampunk WatchTower!
Find my review of the Steampunk WatchTower >>> here!

Rating: ★★★★★ (4.5/5)
Perfect for: Adult builders, steampunk fans, and Lumibricks
collectors.
🛒 Where to Buy
Search Amazon for the Flying Club F9050 or visit the
