Hey brick fans, welcome back to BrickToyReviews!
LesDiy.de was very kind to send me this MOC Winter Village Building Block set
to review with you guys. LesDiy was founded in 2014 to find creative and
educational building block toys. They are always looking for cooperation
with top MOC designers to share interesting and worthwhile sets at a fair
price.
Set Details
According to the information provided, the designer was inspired by a
Christmas Winter Village display from a brand called Dept 56. He set
about to recreate it using Lego bricks and posted his creation on
Rebrickable: https://rebrickable.com/mocs/MOC-181276/cloureiro/winter-village-building-creation-station/#details
Now the designer is working with LesDiy.de to reproduce the set using generic
Lego compatible building blocks.
MOC-181276 Winter Village - Building Creation Klemmbausteine
LesDiy | SKU: 3597231
Designer: cloureiro
Product PCS: 2456
Processing time: about 30 days
After-sales service: Free after-sales
Stickers and minifigures are not included
€152.99
incl. VAT. Shipping calculated at checkout.
Take 20% off your purchases using my affiliate code itsnotlego20.
Unboxing
The Winter Village MOC set is packaged in a white box. The set picture is
glued to the front of the box.
Upon opening the box, there are lots of zip lock bags and a QR code to receive
the instructions. There are no minifigures, no stickers and no manuals.
I counted 46 individual ziplock bags with parts randomly distributed.
There are no numbers on the bags that correspond to the instructions I
needed to download to my phone. I spent about 3 hours going through the
bags and re-sorting them, ie. tile pieces with other tiles, plates with
plates, bricks with bricks, etc. to make it easier for me to find the
necessary pieces during the build process.
The instructions indicate that you can buy optional stickers from the
designer. They are not provided in this set.
Building the Winter Village MOC
Since there aren't any section breaks in the instructions, I'll just take some
pictures as I build and provide some thoughts about the set design, the brick
quality and clutch and other such details.
Instead of calling the set Winter Village, it would have made more sense to
call it the Santa Brick Factory as the building structure appears to be a
warehouse or factory that are either manufacturing or packaging building
blocks. But I will continue to call it the Winter Village MOC for
consistency in this review.
In the above picture we can see a small factory with brick pieces moving
along a conveyor belt. The set features two types of printed parts, the
yellow and black hazard tiles and some log end pieces. This glass
enclosure is one of the unique features of this build.
Overall the Winter Village MOC sits on six 16x16 stud baseplates, giving a total
dimension of 32x48 studs. There is a lot of wasted space on the sides of
the build, which could have been landscaped or had small structures added.
It probably would fit on a standard 32x32 footprint if the set were better
designed.
Behind the factory is a large warehouse with crates of building blocks. A
tool bench sits next to the factory door. The lower floor is covered with
contrasting dark tan and dark gray tiles.
Other interior features include a water dispenser and a small kitchen. The
height of the kitchen suggests that it is made for elves.
Continuing along, we add more walls and the front entrance to the factory.
The red stairs lead up to what will be Santa's office on the second floor.
This building uses a lot of 1x2 plates in dark tan, nougat and medium nougat
colours and it's hard to differentiate them in the instructions. I ended up with
a lot of leftover 1x2 nougat pieces, so either they were extra or I completely
messed up and used the wrong pieces.
Here is the second floor space that will be Santa's office. It too is
tiled.
The design features two desks and chairs in the Santa office. I think the
extra desk and chair should be replaced by a bed with nightstand instead.
So let's talk about brick quality. The bricks used in this set are sourced
from different suppliers because lots of the bricks have colour
differences. See the brown half cylinder pieces above as an example.
Also the 1x3 bricks tan bricks have a more pinkish hue than the other tan
bricks. Brick clutch was acceptable, nothing too loose in terms of brick
tolerances.
We are on step 415 of 700 steps here, so just about halfway through the
build. The brown arch and adjoining gray wall are not attached to anything
but still required to hold up the second floor walls. This part of the
build could have been designed better in my opinion.
Added a few more accessories to the warehouse. Why didn't the designer
just align the freestanding lower gray wall to be directly under the second
floor instead of being shifted 1 stud over? 🤔
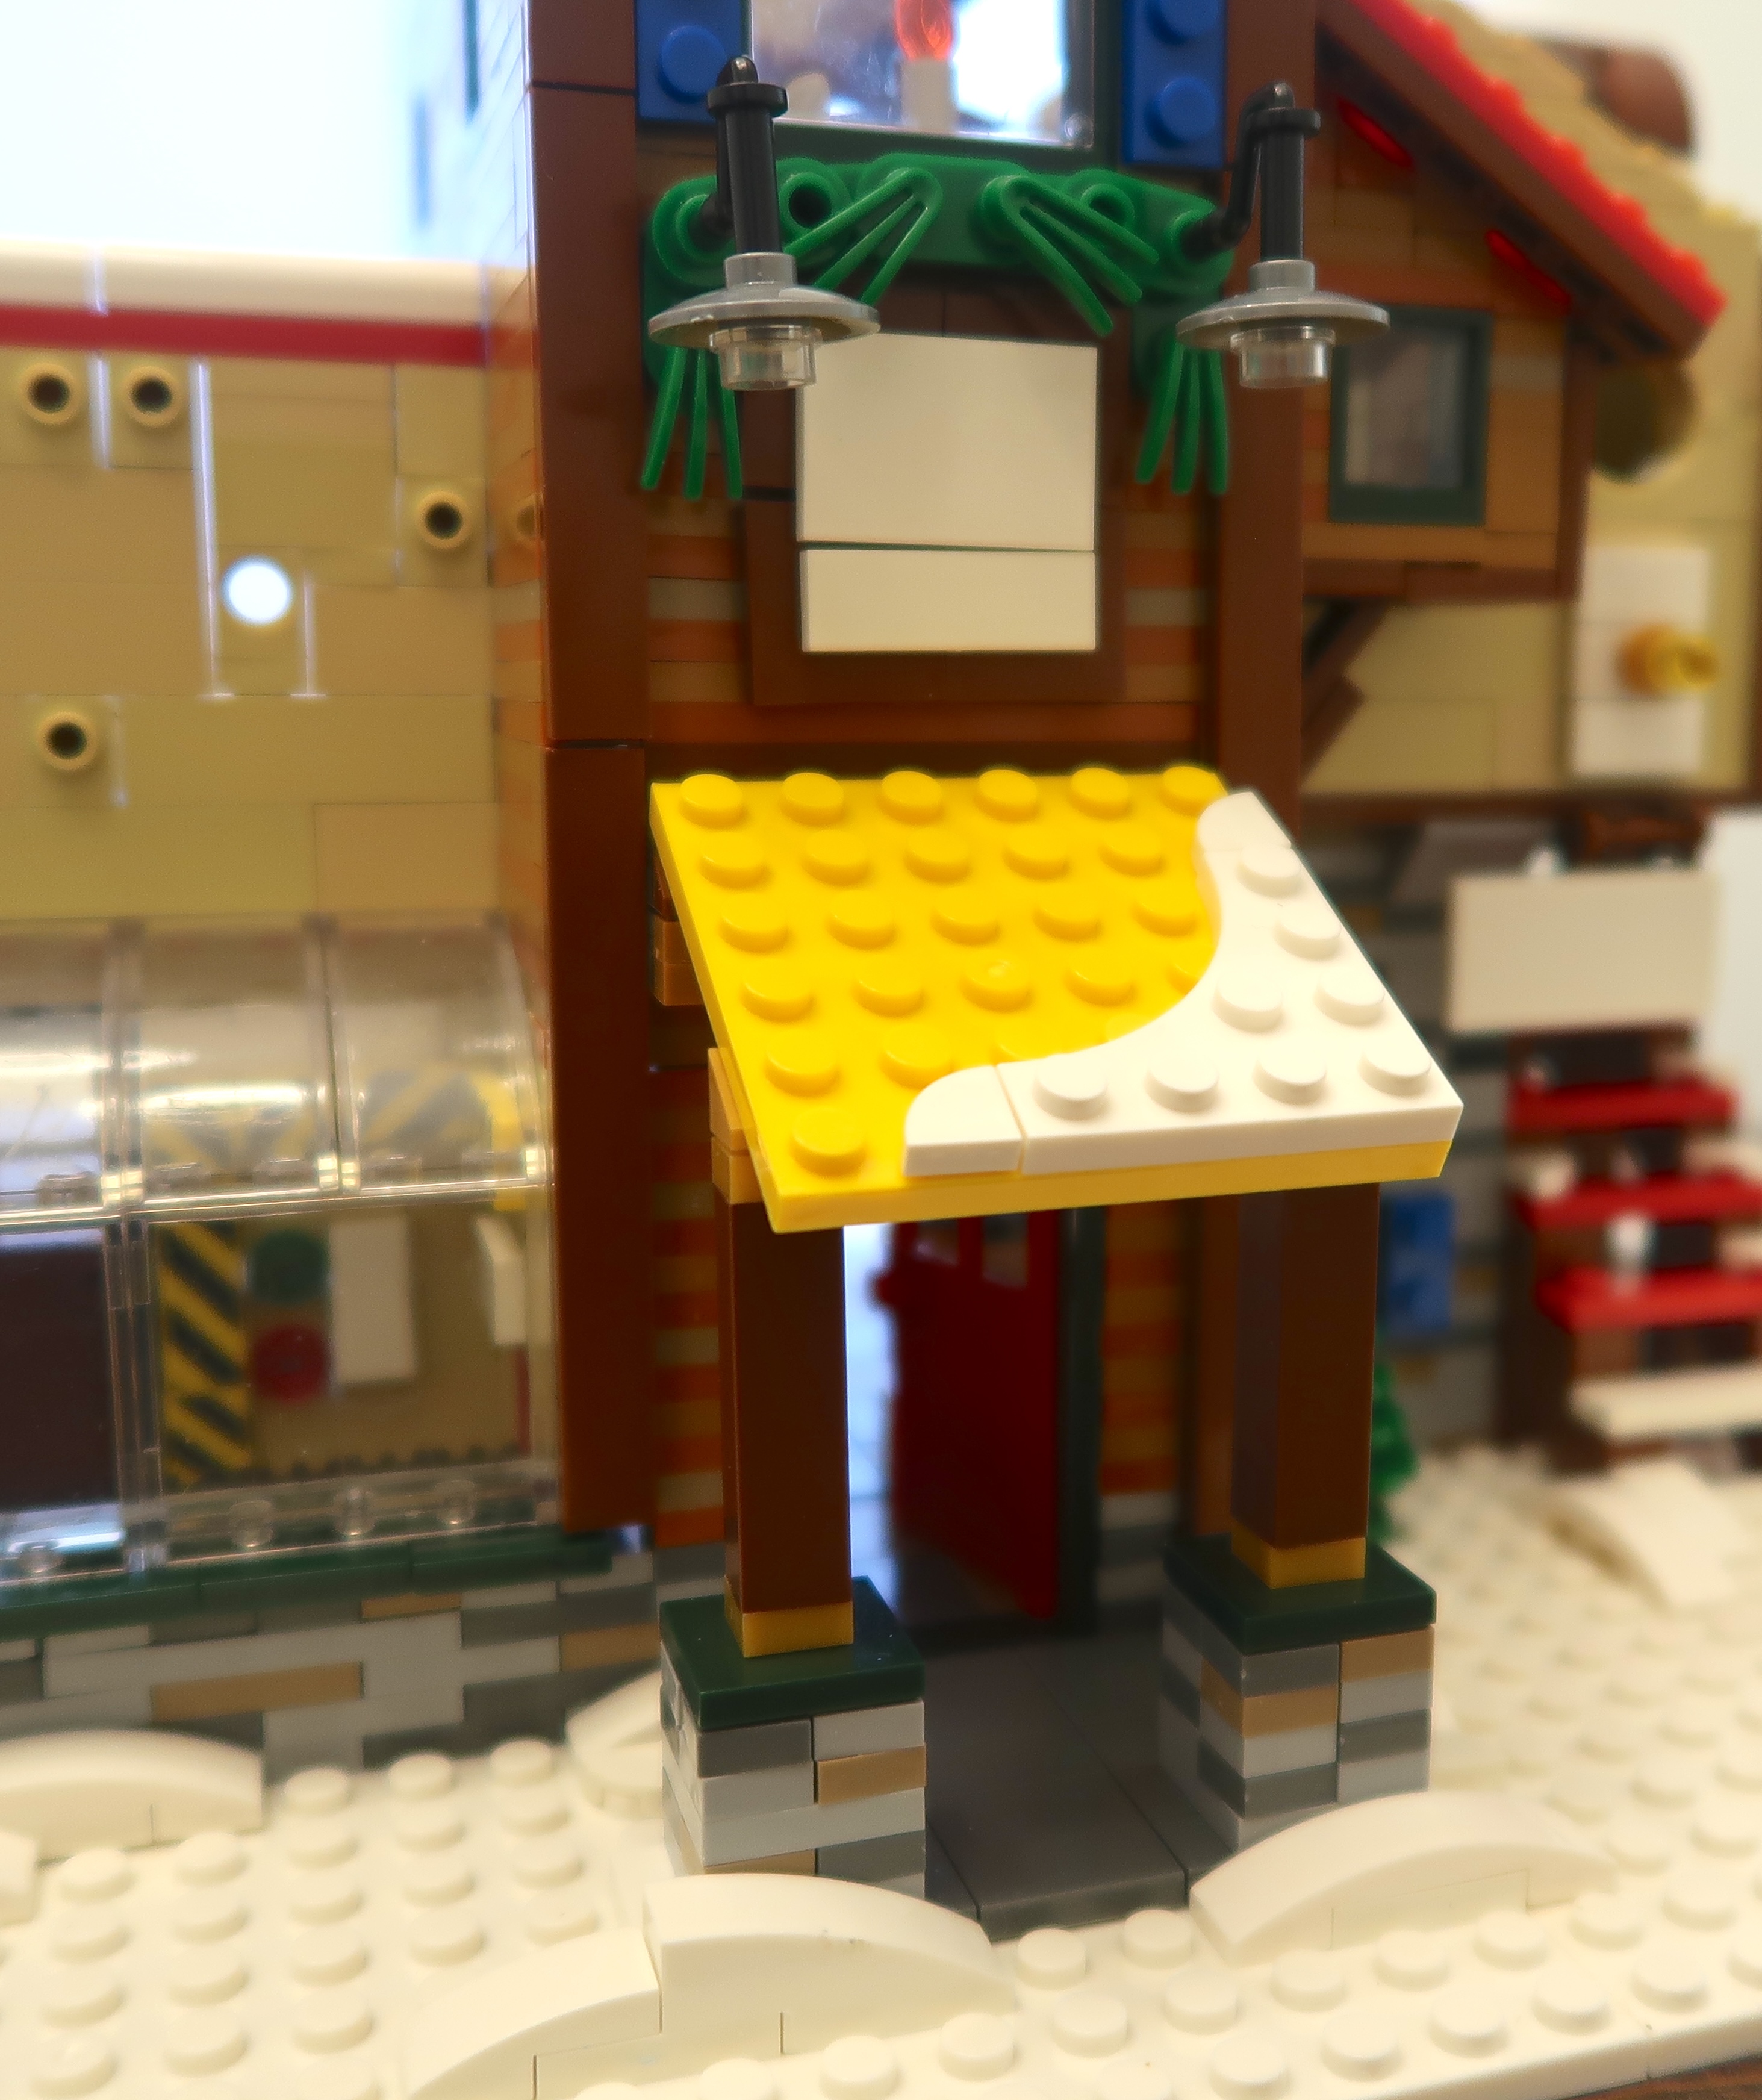
With the interior done, now we are placing details around the exterior, such
as the covered porch and lights.
The warehouse gets a back wall. It's not hinged or anything, just held in
place by 1 technic brick.
Installing the roof panel with the colourful brick cannisters. Other than
the ability to remove the warehouse roof panel, this is not a modular
building.
The remaining roof panels were not easy to attach. When I was pressing the
top panel in, the rear brown arch wall that I mentioned earlier gave way and
collapsed, due to the lack of structural support.
Here is the final back wall to put into place. The fireplace and logs
are a nice touch.
The remainder of the back wall is constructed. It consists of a stone
fireplace and rear door to the factory. Again it is not hinged and
supposed to sit there. I followed the instructions but there are
gaps on this part of the wall.
It would look like this is if both of the wall pieces were hinged.
Speaking about hinged, the large factory doors are hinged!
And they work great!
Last thoughts
I commend the designer for his unique design of a brick toy factory.
Definitely the feature that most stands out to me is the glass enclosed
factory and the colourful cannisters on the factory roof. Overall,
the structure could have been designed to fit on a 32x32 standard
baseplate.
There's a lot of asymmetry to this set which I wasn't keen on.
Because of this, the design lacked structural integrity in the upper
areas, making it very delicate to move around. Functionally the rear
walls should have been hinged and the central lower area could have been
furnished with a dining table and chairs.
I'll give it a rating of 3 out of 5. This set was easy to build up
until step 415 or so. After that it requires a bit more patience,
but if you persevere, it will be a nice colourful set to display in your
winter village.
P.S. These were the extra pieces I had left over, some because they
had fallen off during the build phase. I was intrigued as to why the
transparent door frames were included, as they are not part of the
instructions.
Anyways, thanks for staying until the end and thanks again to
LesDiy.de for sending me
the set to review!
Click
here for more LesDiy reviews!
#lesdiy #cloureiro